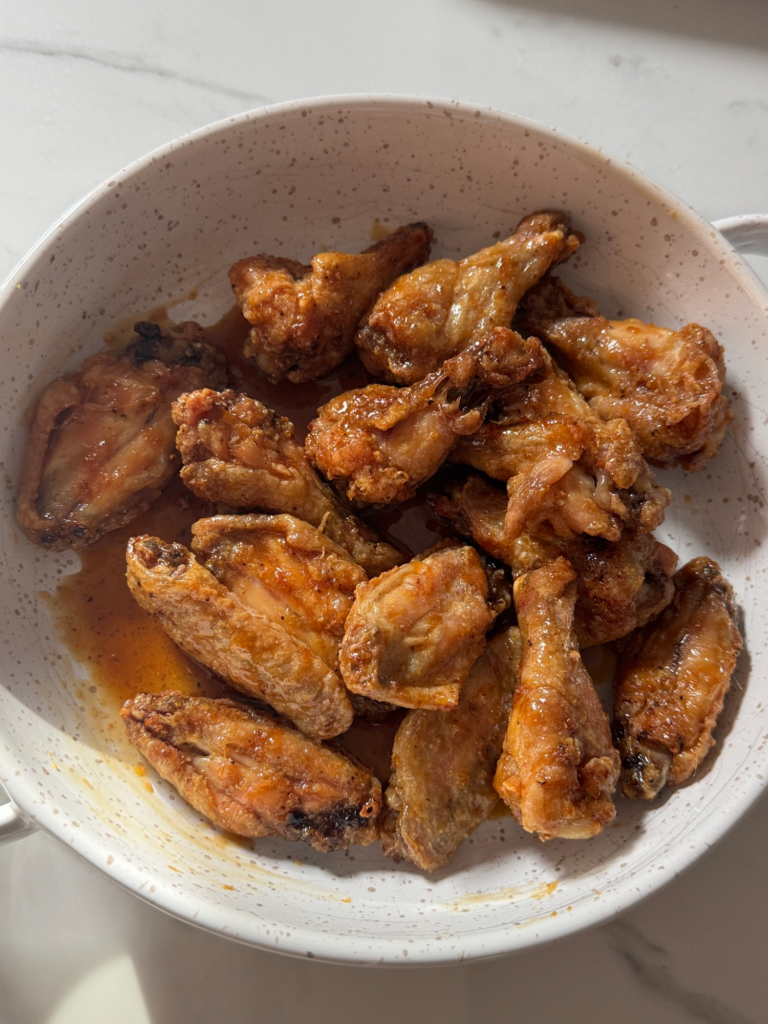
These oven baked crispy honey garlic wings are shatteringly crisp with no frying, thanks to a simple baking powder trick, then tossed in a sticky, sweet-and-savory honey garlic glaze. They are the ultimate game day or party wings, and everyone always asks for the recipe.
Why You’ll Love These Honey Garlic Wings
Extra crispy, no frying. A baking powder trick makes them crunchy right in the oven.
Sticky honey garlic glaze. Sweet, savory, garlicky, and just a little spicy.
Simple ingredients. Wings, pantry seasonings, and a quick 5-ingredient glaze.
Perfect for game day. A guaranteed crowd-pleaser for parties and gatherings.
Easy to make. Season, bake, toss, and serve.
If you have ever ended up with soggy, disappointing baked wings, these will change everything. They get genuinely crispy, and that lacquered honey garlic glaze clings to every nook and cranny.
What You Need to Make Honey Garlic Wings
Here is everything you need, plus a few of my favorite products. Full measurements are in the recipe card above.
Chicken wings. About 1.5 pounds, split into flats and drumettes and patted very dry.
Garlic powder, salt, and pepper. Simple seasoning for the wings before they bake.
Baking powder. The secret to crispy oven wings (make sure it is baking powder, not baking soda).
Sesame seeds and scallions. For garnish and a fresh finish.
How to Make Honey Garlic Wings
Here is the quick walk-through, and the full recipe is in the card above.
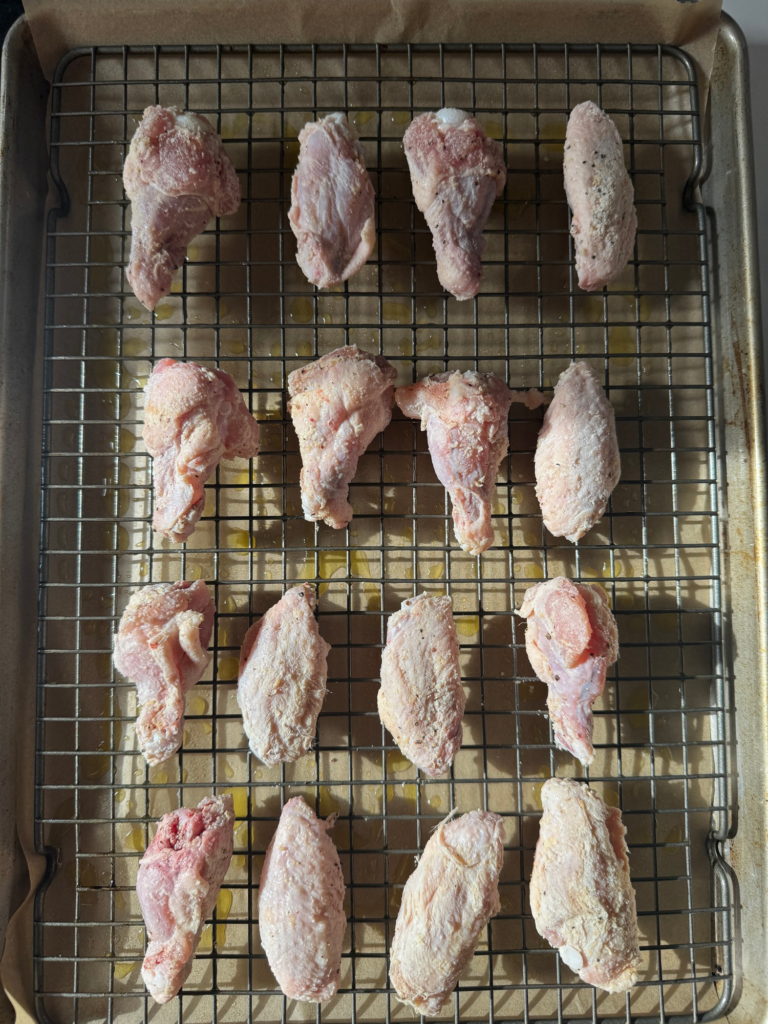
Prep the pan. Preheat to 425 degrees F, line a baking sheet with parchment, and set an oiled wire rack on top.
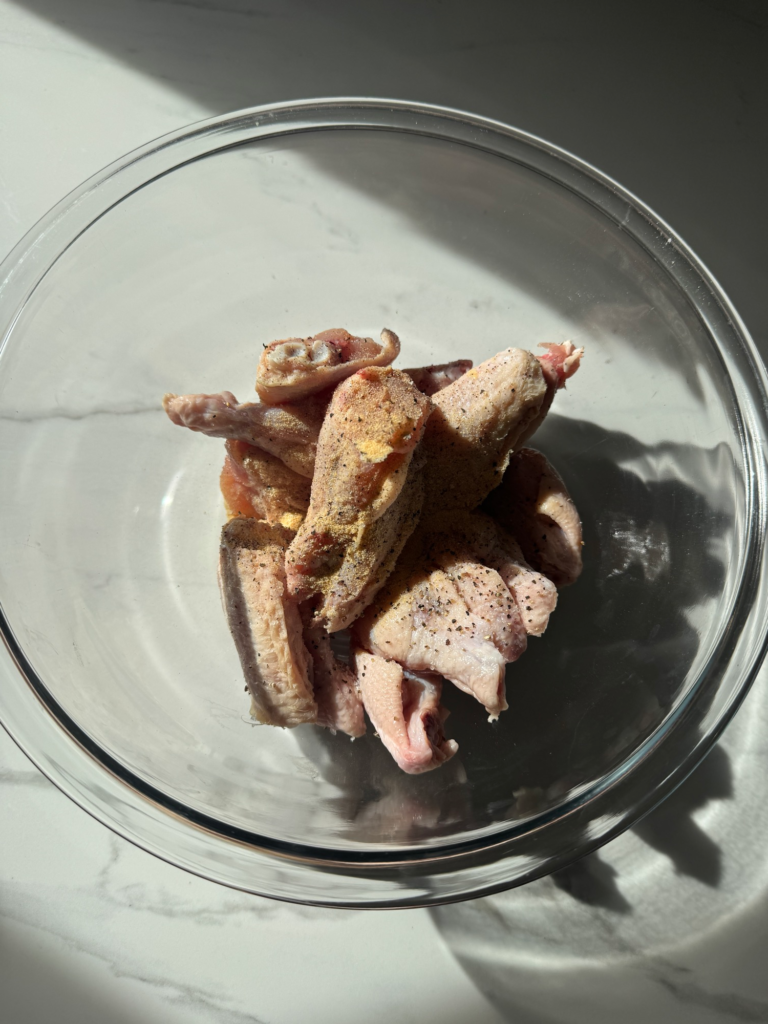
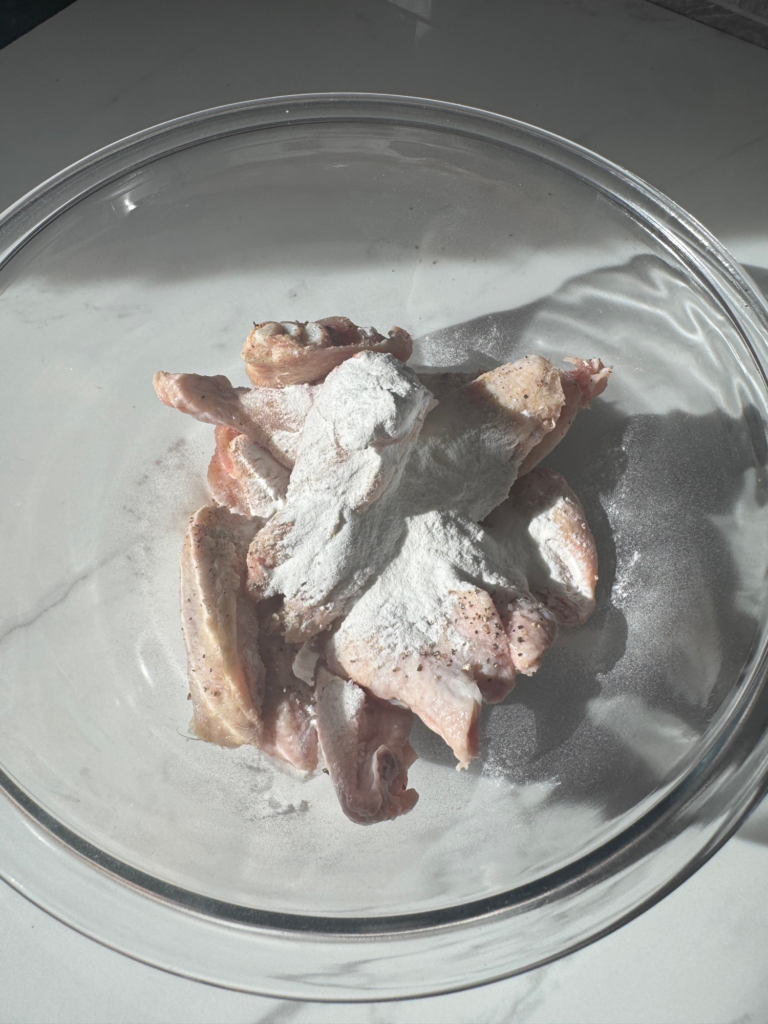
Dry and season. Pat the wings very dry, then toss with garlic powder, salt, pepper, and baking powder.
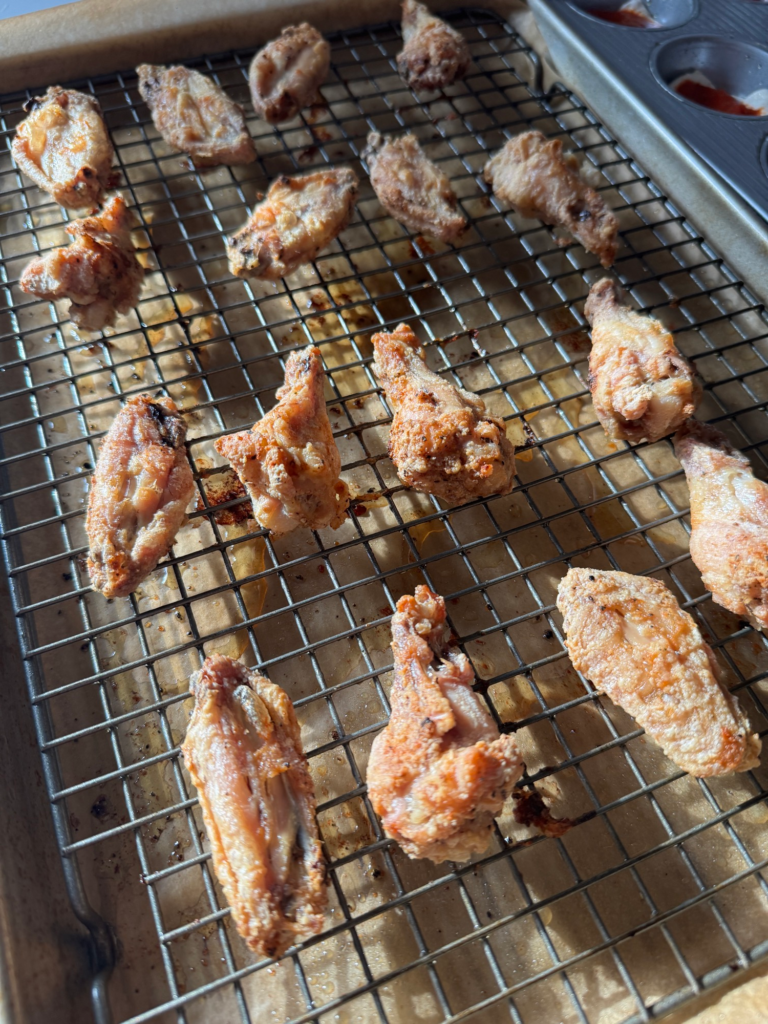
Bake. Spread on the rack in a single layer and bake 45 minutes, flipping halfway, until deeply golden and crisp.
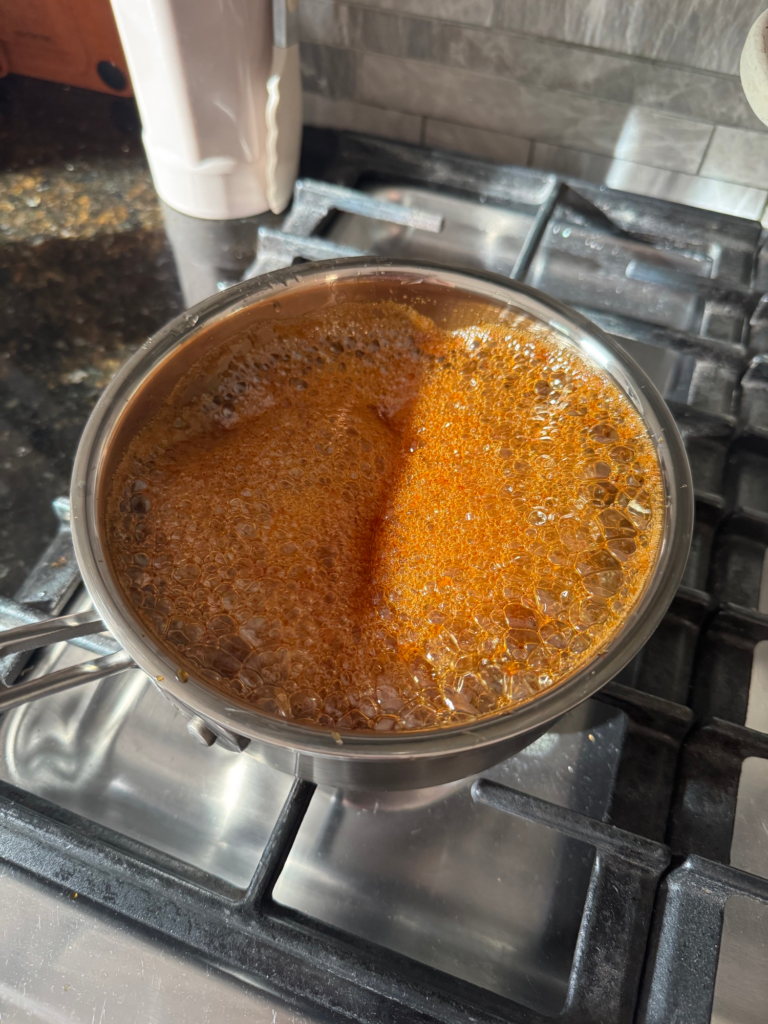
Make the glaze. Simmer the honey, soy sauce, garlic, rice vinegar, and pepper flakes until thickened.
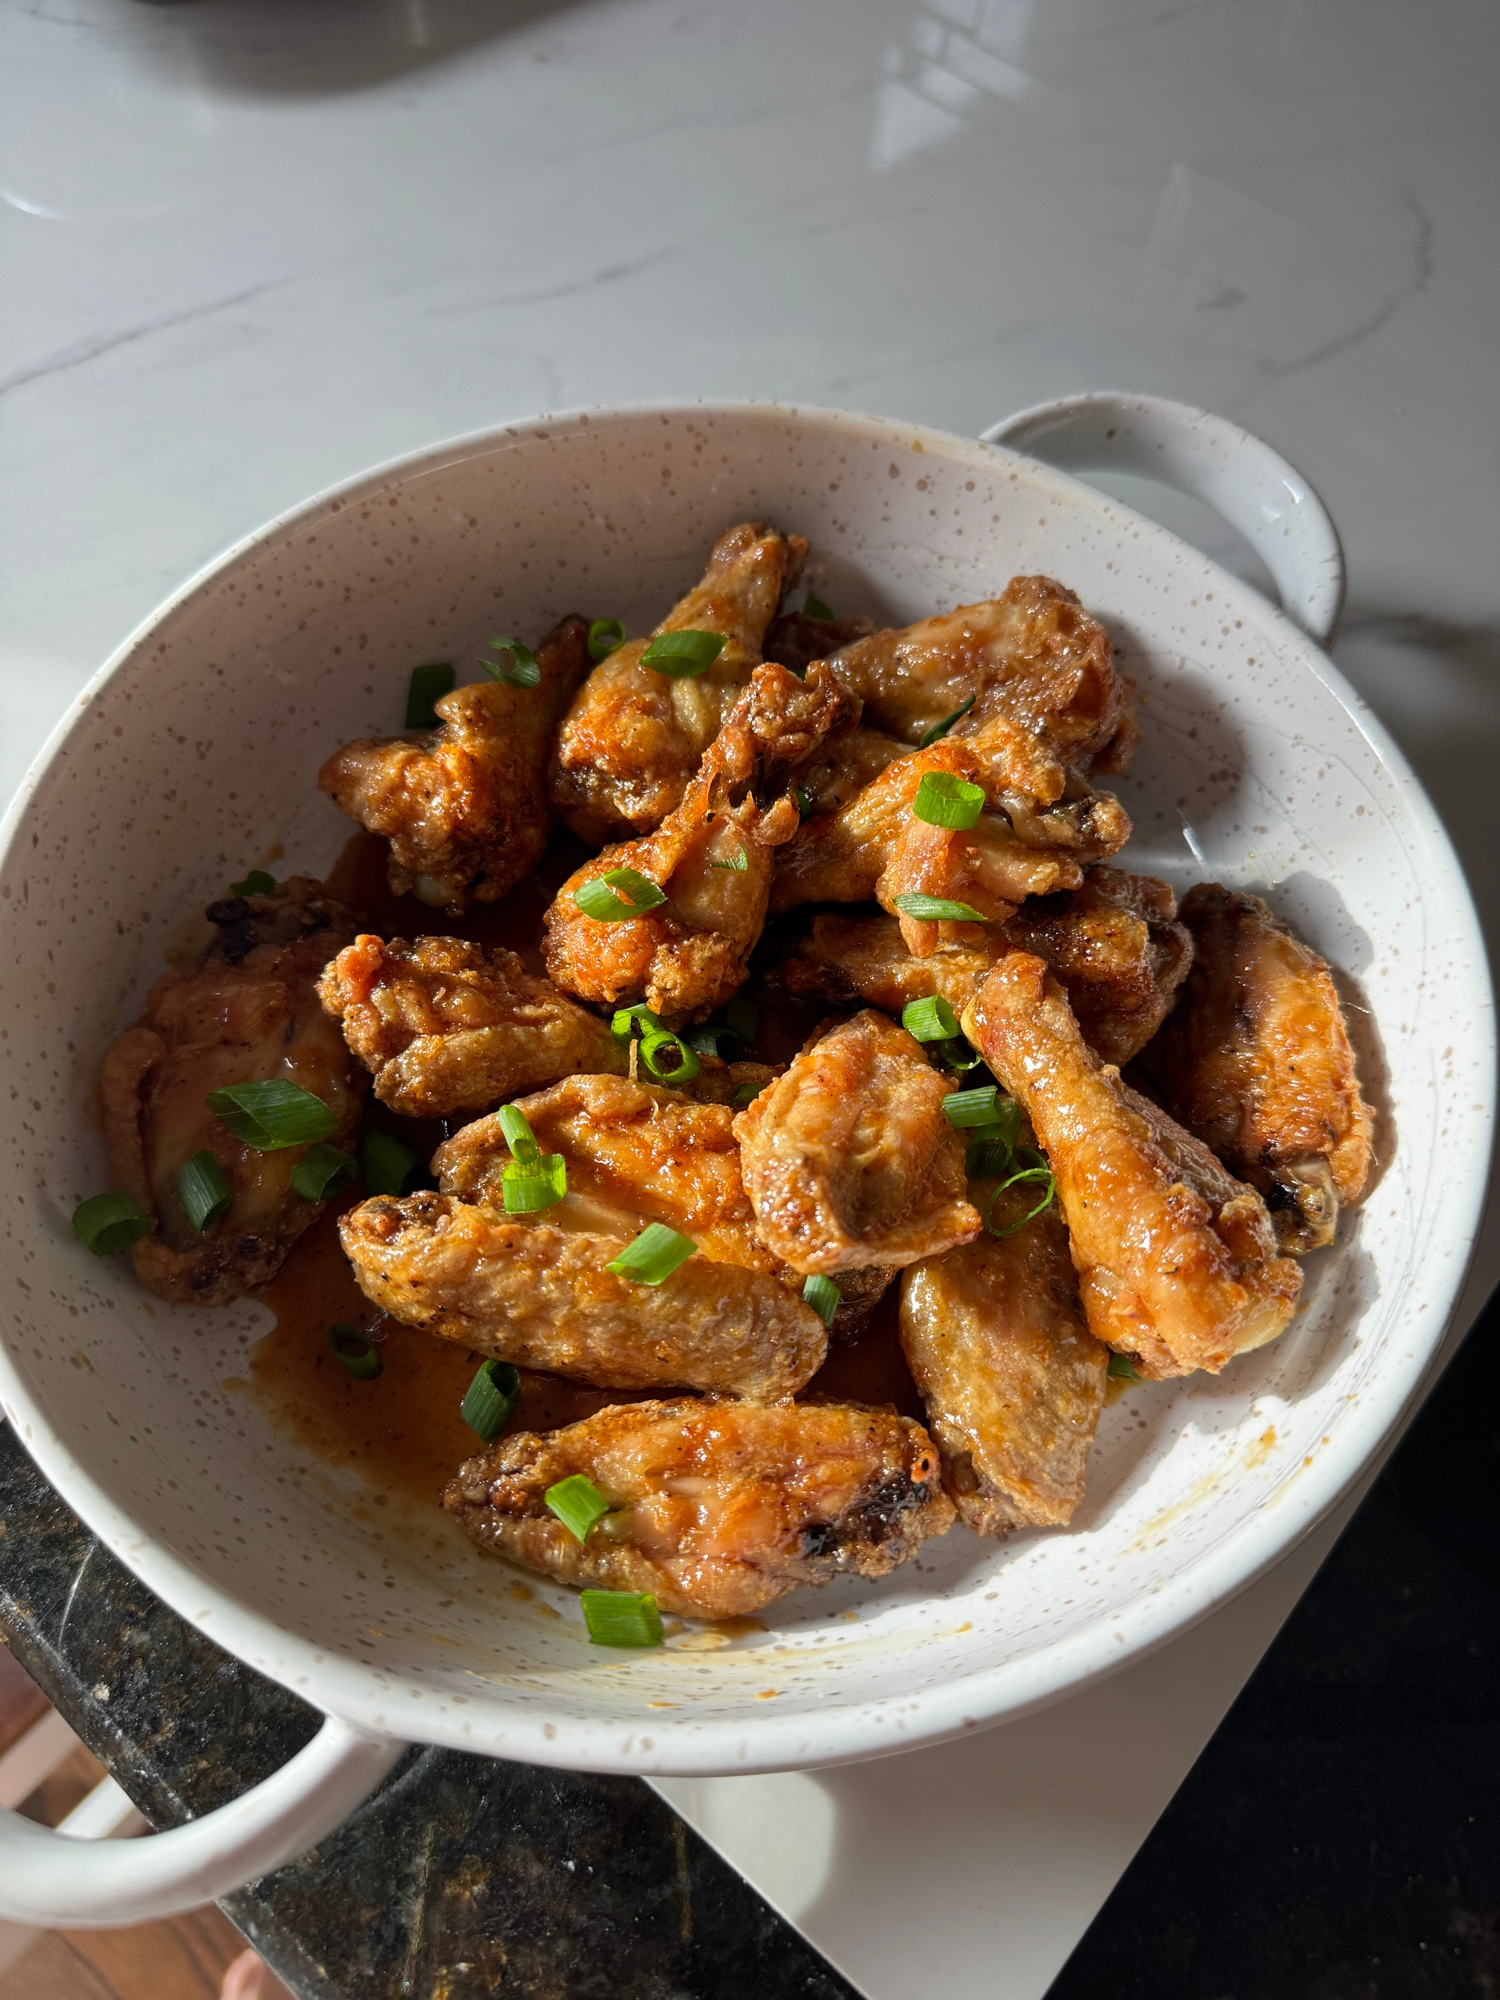
Toss and serve. Toss the hot wings in the glaze, garnish with sesame seeds and scallions, and serve right away.
Why Baking Powder Makes Wings Crispy
This is the trick that makes all the difference. Baking powder raises the skin’s pH and draws moisture to the surface, where it evaporates in the hot oven, leaving the skin dry and blistered so it crisps up almost like it was fried. Be sure to use baking powder, not baking soda, and aluminum-free if you can, since the wrong kind or too much can leave a metallic taste. Toss the wings just until lightly and evenly coated. Combined with patting the wings really dry first, this is how you get crispy baked wings every single time.
The Secret to the Perfect Glaze
The glaze is what takes these honey garlic wings over the top, and the key is to reduce it, not skip that step. Straight honey and soy sauce is too thin, so it pools at the bottom of the bowl and the wings go soggy almost immediately. Just 4 to 5 minutes of simmering thickens it into a glossy, sticky glaze that coats the back of a spoon and clings to every wing. Two other rules matter: never glaze before baking, since honey burns well below 425 degrees F, so the sauce always goes on after the wings come out. And toss right before serving, because sauced wings start to soften within about 10 minutes. If you are holding them for a crowd, keep the glaze warm and toss in batches as people eat.
How to Get Them Extra Crispy
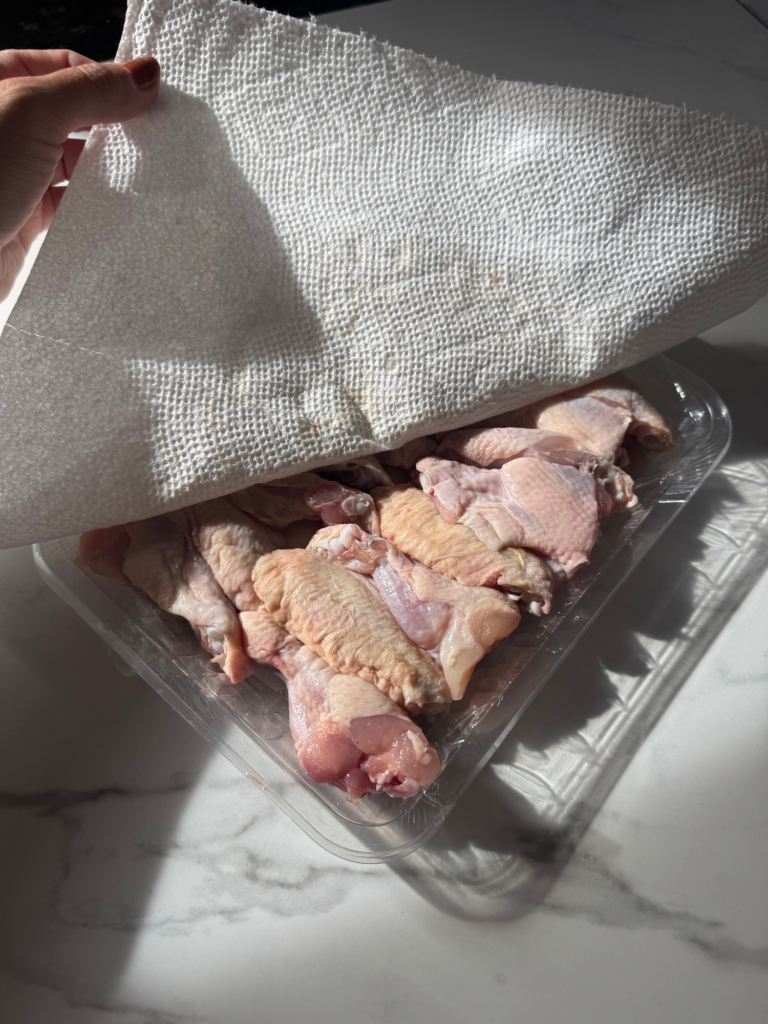
Pat them dry. Blot the wings well before seasoning; surface moisture is the enemy of crisp skin.
Use a wire rack. Elevating the wings lets hot air circulate all the way around.
Do not crowd the pan. Give each wing space so they roast instead of steam.
Flip halfway. Turning them ensures even browning top and bottom.
Sauce at the very end. Toss in the glaze right before serving so they stay crisp.
Air Fryer Method
You can easily make these honey garlic wings in the air fryer. Season the wings the same way, then air fry at 400 degrees F for about 18 to 22 minutes, shaking the basket and flipping halfway, until crispy and golden. Work in batches so you do not overcrowd the basket, and toss the finished wings in the warm honey garlic glaze just before serving. The air fryer is a great shortcut for a smaller batch or when you do not want to heat up the whole oven.
Want More Heat?
These honey garlic wings have just a gentle warmth from the red pepper flakes, but they are easy to spice up. For a bolder, spicy-sweet glaze, whisk in a tablespoon of gochujang or sriracha along with the honey and soy. A drizzle of hot honey at the end is delicious too, or add a pinch of cayenne to the seasoning before baking. You can also keep the glaze mild and set out extra chili crisp or hot sauce so everyone can customize their own plate.
What to Serve With Honey Garlic Wings
These wings are perfect for dipping and snacking. Set out a little ranch or blue cheese alongside, plus celery and carrot sticks for crunch. They are made for game day next to other finger foods, or serve them over rice with steamed veggies for a fun dinner. For a party spread, pair them with a few other easy appetizers and plenty of napkins, because these are gloriously sticky.
Storage and Reheating
Store leftover honey garlic wings in an airtight container in the fridge for up to 4 days. To bring back the crispiness, reheat them in a 400 degree F oven or the air fryer for about 8 to 10 minutes, never the microwave, which makes the skin soft. You can also freeze un-sauced wings for up to 2 months; reheat straight from frozen in a hot oven until heated through and crisp, then toss in fresh glaze.
More Wing and Chicken Recipes
If you love these honey garlic wings, here are more crowd favorites to try:
Why are my honey garlic wings not crispy?
Usually too much moisture. Pat the wings very dry, use baking powder, and bake on a wire rack so air circulates all around them.
Baking powder or baking soda?
Baking powder. Baking soda in this amount would leave a metallic, soapy taste.
Why did my glaze make the wings soggy?
The glaze was likely too thin. Simmer it for 4 to 5 minutes to thicken, and toss the wings right before serving.
Can I make honey garlic wings with frozen wings?
Yes, but thaw them completely and pat very dry first, or they will steam instead of crisp.
Can I make honey garlic wings ahead of time?
They are best fresh, but you can bake them ahead, re-crisp in a hot oven, and toss in the warm glaze just before serving.
How To Make Oven Baked Crispy Honey Garlic Wings
The Ingredients
Ingredients and Substitutions
Chicken wings – split into flats and drumettes; drumsticks work with a longer bake.
Baking powder – essential for crispiness; do not substitute baking soda.
Honey – or maple syrup for a different sweet note.
Low-sodium soy sauce – tamari or coconut aminos for gluten free.
Fresh garlic – grated cloves are best; garlic powder can stand in.
Rice vinegar – or apple cider vinegar or fresh lime juice.
Red pepper flakes – optional; swap for gochujang or sriracha for more heat.
What You Need
The Steps
Prep the pan. Preheat the oven to 425 degrees F. Line a baking sheet with parchment, set a wire rack on top, and spray the rack with oil.
Dry and season. Pat the wings very dry, this is the whole game. Toss in a bowl with the garlic powder, salt, pepper, and baking powder until evenly coated.
Bake. Spread the wings on the rack in a single layer, not touching. Bake for 45 minutes, flipping halfway, until deeply golden and crisp.
Make the glaze. While the wings bake, combine the honey, soy sauce, garlic, rice vinegar, and red pepper flakes in a small saucepan. Simmer over medium-low for 4 to 5 minutes, until it thickens enough to coat the back of a spoon.
Toss and serve. Move the hot wings to a large bowl, pour over the glaze, and toss until every piece is lacquered. Garnish with sesame seeds and scallions and serve immediately.
Recipe Tips
Reduce the glaze, do not skip it. Straight honey and soy is too thin, so it pools at the bottom of the bowl and the wings go soggy; those 4 to 5 minutes of simmering are the difference between sticky and wet.
Never glaze before baking, since honey burns well below 425 degrees F, so the sauce always goes on after the wings come out.
Toss right before serving, as sauced wings start softening within about 10 minutes.
Want more heat? Swap the pepper flakes for 1 tablespoon of gochujang or sriracha whisked into the glaze.
Storage: refrigerate up to 4 days and reheat at 400 degrees F for 8 to 10 minutes (never the microwave). Freeze un-sauced wings up to 2 months.
These oven baked crispy honey garlic wings are everything I want in a wing: shatteringly crisp on the outside, juicy inside, and coated in a sticky, sweet-and-savory honey garlic glaze. And the best part? They are baked, not fried. A simple baking powder trick gives you that deep golden crunch right in the oven, no messy pot of oil required.
They are the ultimate appetizer for game day, parties, or an easy weeknight treat, and they always disappear first. Once you toss them in that glossy honey garlic glaze, you will understand why everyone asks for the recipe.
1.5 lb chicken wings (split into flats and drumettes)
1 teaspoon garlic powder
3/4 teaspoon salt
1 teaspoon black pepper
1 tablespoon baking powder (not baking soda)
For the honey garlic glaze
1/3 cup honey
3 tablespoons low-sodium soy sauce
4 cloves garlic (grated)
1 tablespoon rice vinegar
1/2 teaspoon red pepper flakes (optional)
toasted sesame seeds and sliced scallions (to garnish)
Instructions
Prep the pan. Preheat the oven to 425 degrees F. Line a baking sheet with parchment, set a wire rack on top, and spray the rack with oil.
Dry and season. Pat the wings very dry, this is the whole game. Toss in a bowl with the garlic powder, salt, pepper, and baking powder until evenly coated.
Bake. Spread the wings on the rack in a single layer, not touching. Bake for 45 minutes, flipping halfway, until deeply golden and crisp.
Make the glaze. While the wings bake, combine the honey, soy sauce, garlic, rice vinegar, and red pepper flakes in a small saucepan. Simmer over medium-low for 4 to 5 minutes, until it thickens enough to coat the back of a spoon.
Toss and serve. Move the hot wings to a large bowl, pour over the glaze, and toss until every piece is lacquered. Garnish with sesame seeds and scallions and serve immediately.
Notes
Reduce the glaze, do not skip it. Straight honey and soy is too thin, so it pools at the bottom of the bowl and the wings go soggy; those 4 to 5 minutes of simmering are the difference between sticky and wet.
Never glaze before baking, since honey burns well below 425 degrees F, so the sauce always goes on after the wings come out.
Toss right before serving, as sauced wings start softening within about 10 minutes.
Want more heat? Swap the pepper flakes for 1 tablespoon of gochujang or sriracha whisked into the glaze.
Storage: refrigerate up to 4 days and reheat at 400 degrees F for 8 to 10 minutes (never the microwave). Freeze un-sauced wings up to 2 months.
Recipe creator, toddler mama & wellness enthusiast. Happy&Full is a blog all about quick and easy recipes for every day living! Eating well (and feeling well) doesn’t have to be complicated or expensive.
Everyday Green Smoothie There is no better way to start your day than with a delicious and nutritious green smoothie. We've been having this smoothie daily for the last few years and when we don't have it, we are in serious withdrawal! If you want to...
Big Mac Salad That same flavour and same comforting feeling that you can feel good about! We love this dinner when we need something quick but want to feel good after without compromising the flavour. Aside from cooking the beef, the remainder of prep is simple...
Potato Thins If you are looking for the perfect, comforting, and EASY recipe, this is for you! The same delicious flavour as classic potato skins but way less effort! These require no scooping - just slice, bake and top! 3 medium russet potatoes1 tsp salt1 tsp...
Blender Oat Banana Bread OK this COULD NOT BE an easier recipe! It’s a great way to use up spotty bananas. I love making a loaf on Sunday to have as a snack or breakfast throughout the week. Here, I'm using peanut butter cups instead of chocolate chips but...

















This recipe hasn't been reviewed yet!